12V vs 24V Electrical Gauges: How to Avoid Expensive Mismatches

Digital Speedometer Accuracy: Calibration Tips for Better Real-World Readings
May 4, 2026
How Salt, Moisture, and Corrosion Affect Electrical Gauge Accuracy
June 18, 2026
Introduction
In vehicle electrical systems, most cars and boats use 12 volts, while larger trucks, buses, and industrial machines often use 24 volts. Every analog gauge (fuel, oil pressure, temperature, etc.) is engineered for a specific supply voltage.Understanding 12V vs 24V Gauges
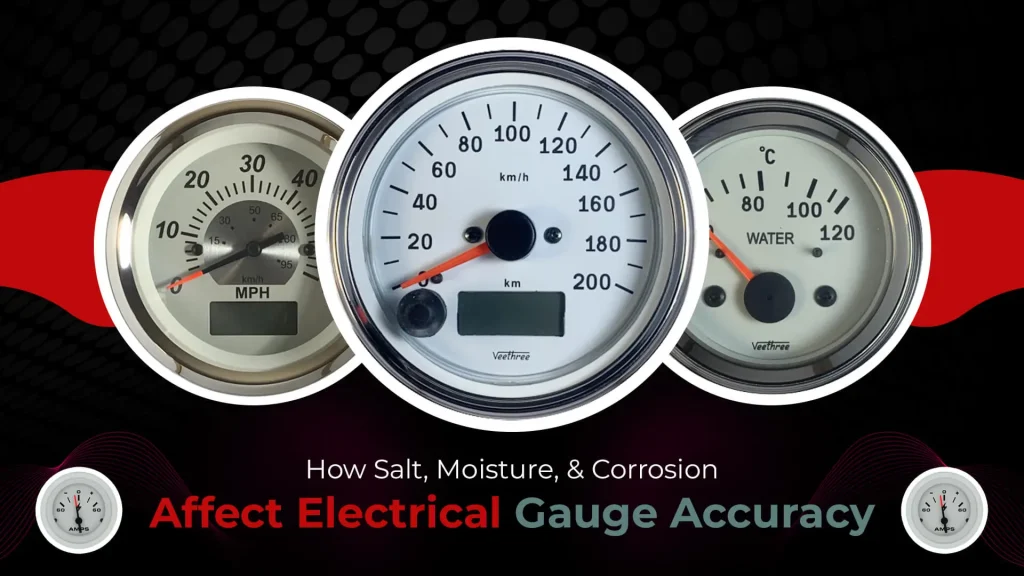
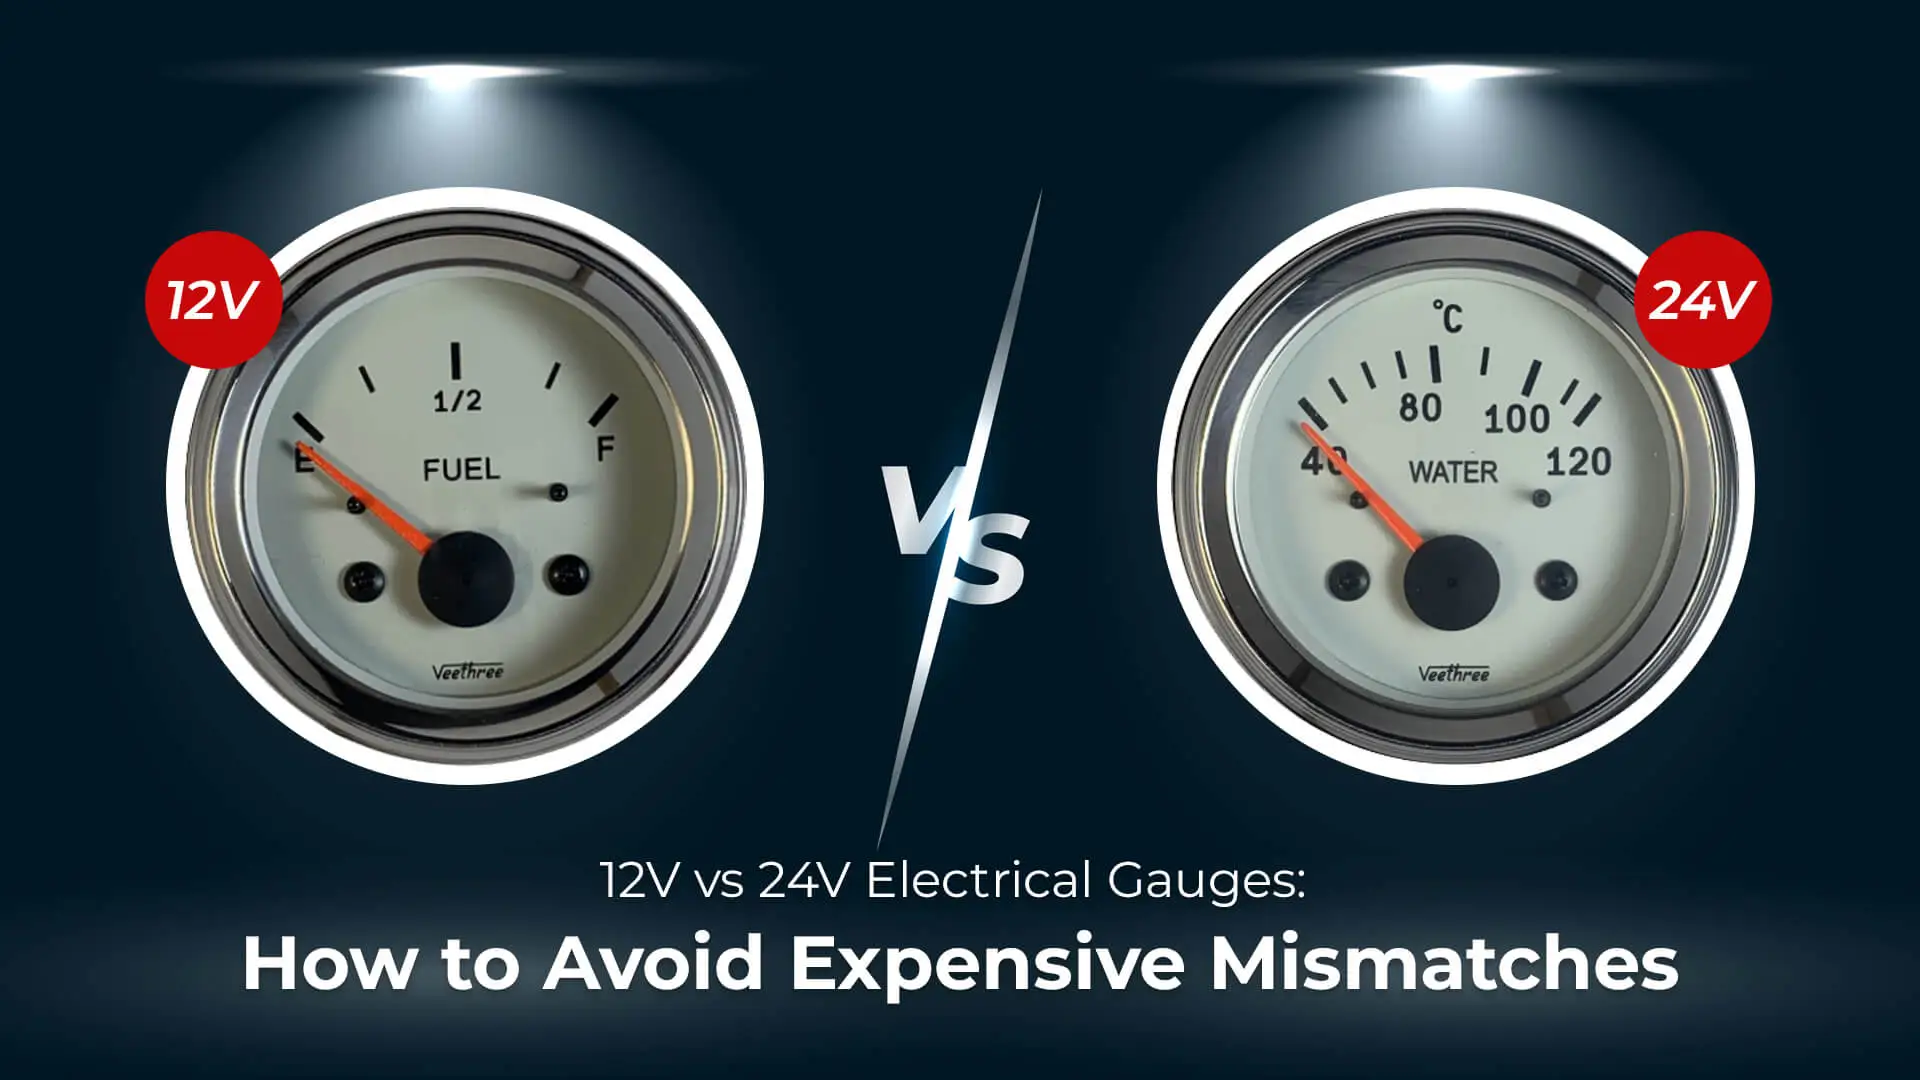
A 12V gauge on a 24V bus or a 24V gauge on a 12V bus will not work correctly. In simple terms, a gauge is like a lightbulb: too much voltage will burn it out, and too little won’t light it up. As one reference notes, a 12V gauge powered at 24V will peg the needle at full scale and may be damaged. Conversely, a 24V gauge on 12V is effectively “underpowered” and will barely move because it expects a higher input range.
Ensuring you match gauge voltage to your system is critical. The consequences of a mismatch can be expensive: burned-out gauges, faulty readings, or even damaged wiring.
For example, Veethree’s own service bulletin warns that installing a 12V gauge on 24V must include a dropping resistor on the gauge’s ignition terminal, and the 12V lamp must be replaced with a 24V bulb. If not done, the gauge will overheat or fail. The safest approach is usually to pick the gauge built for your system’s voltage.
Key Differences Between 12V and 24V Gauges
| Feature | 12V Gauge | 24V Gauge |
|---|---|---|
| Voltage Range | Calibrated for ~8–16V (suitable for 12V systems) | Calibrated for ~16–32V (suitable for 24V systems) |
| System Use | Cars, small boats, light vehicles | Heavy trucks, buses, large boats, industrial equipment |
| Internal Resistance | Designed for higher current at 12V | Higher resistance (lower current) at 24V |
| Illumination Bulbs/Sockets | Uses 12V bulbs/sockets | Requires 24V bulbs and matching sockets |
| Gauge Movement | Reads accurately at 12V; pegged full-scale above ~18V | Reads accurately at 24V; may not move at all below ~16V |
| Typical Fuse/Wiring | Fuses around 5–10A (higher current draw) | Usually lower current, smaller fuse (higher voltage) |
| Installation Tip | Can wire directly on 12V; use a dropping resistor if on 24V | Direct wire on 24V; no resistor needed, but bulbs must be 24V |
Veethree’s technical guides emphasize matching voltage correctly. Their conversion bulletin states: “To use a 12 volt gauge, a voltage reducing resistor needs to be attached to the ‘I’ terminal of the gauge.” It also instructs swapping the gauge’s 12V bulb for a 24V bulb. For example, they specify a 200Ω, 5W ceramic resistor on the ignition terminal for fuel, oil pressure, or water temperature gauges. Veethree even supplies a complete 24Vto12V dropping resistor kit and wiring instructions. In practice, however, it’s usually simpler and safer to choose the gauge rated for your system voltage and avoid special wiring.
Common Mismatch Errors
Customers often assume gauges are “universal.” This is false. A common mistake is installing a 12V gauge in a 24V system without modification, or vice versa. If you do this, symptoms appear immediately (detailed next). Other pitfalls include using the wrong sender/transducer resistance or forgetting to change the panel light bulbs. Always check the gauge’s label or spec sheet for its voltage rating. In short: the gauge voltage must match the vehicle voltage. When orders go wrong, Veethree sees returns due to this misunderstanding. The key is vigilance—always confirm voltage compatibility before wiring up a gauge.
Symptoms of a Voltage Mismatch
If a gauge is mismatched, watch for these signs:
- Pegged Needle: As soon as power is on, the pointer jumps to full scale (into the red zone) and stays there. This often means a 12V gauge is getting 24V. The gauge coil is overdriven. It may soon fail, overheat, or blow a fuse.
- No Movement: The gauge reads empty or zero even when it should move (e.g. engine running). This suggests a 24V gauge on a 12V system – the lower voltage isn’t sufficient to move the pointer. Essentially the gauge is starved of “juice.”
- Burnt-Out Bulb: The panel light for that gauge no longer works. If a 12V bulb was used on a 24V system, it will burn out. Veethree warns to replace all gauge bulbs with 24V versions when wiring a 12V gauge on 24V.
- Blown Fuse: A fuse on the gauge circuit may blow immediately if a 12V gauge draws too much current from 24V.
- Erratic Readings: The gauge flickers or jumps. This can happen if an improper resistor or grounding causes voltage drops, or if the sender’s resistance doesn’t match the gauge curve.
- Pressure/Temp Sense Error: Sometimes the sender (sensor) itself has a different curve for 12V vs 24V gauges. An extreme mismatch might yield wild readings. (Generally, use the sender supplied with the gauge.)
If you notice any of the above, stop and check before replacing hardware. The root cause is often voltage mismatch, not a defective gauge. Confirm the system voltage with a multimeter, then verify the gauge’s rating and wiring.
Testing and Diagnosis
A systematic approach avoids guesswork. Use the following steps, illustrated in the flowchart below, to pinpoint mismatches or faults:
Diagnosis Steps: First, measure your supply voltage at the gauge’s power terminal. Then confirm the gauge’s marked voltage or datasheet specification. If they mismatch, that is the likely culprit. For example, if you have 24V but find a 12V gauge, follow Veethree’s instructions by adding a 200Ω resistor on the ignition (“I”) terminal and installing a 24V lamp. Otherwise, proceed to inspect wiring: ensure “I” (ignition power) is fused and correct, “S” (sender) goes to the sender unit, and the case or “G” terminal is grounded well. A loose ground can mimic voltage issues.
The flowchart above outlines the logic:
- If system and gauge voltages match, focus on wiring and senders (check fuses, grounds, sender resistance).
- If mismatch exists, the solution is either to use the correct gauge or to add the proper resistor/lamp per Veethree’s guide.
- After wiring changes, re-test the gauge. If the problem persists, bench-test the gauge itself with a known supply or consult technical support.
Wiring Tips and Best Practices
- Use Proper Fuses: Always install an appropriate fuse at the gauge’s power feed (close to the battery or main power). This protects against short circuits and prevents gauge damage.
- Secure Grounds: Ensure the gauge’s ground is solid. Many Electronic gauges ground through their metal case and panel mounting; the panel itself must be grounded to chassis. Poor grounding is a common source of phantom “voltage” issues.
- Match Bulbs to Voltage: Remember to use 24V bulbs in gauges on a 24V system. A 12V bulb on 24V will burn out instantly. Veethree specifies swapping all bulbs if converting a panel from 12V to 24V.
- Label Your Gauges: When installing multiple gauges, label them (or wire them) by voltage. This simple step prevents mis-wiring when servicing later.
- Check Sender Compatibility: Many gauges include matching senders. If you replace just the gauge, ensure the sender’s resistance curve is compatible (e.g. 10–180Ω for typical pressure gauges). Mixing a 12V sender with a 24V gauge (or vice versa) can cause inaccurate readings.
- Installing Dropping Resistors: If you must use a 12V gauge on 24V, mount the resistor securely and away from anything flammable. Veethree’s resistor (200Ω, 5W) will get hot. Connect its ring terminal to the gauge’s “I” lug and the opposite end to the 24V supply. Use proper insulated connectors and double-check polarity.
Safety Precautions
- Disconnect Power: Always disconnect the battery or isolate power before rewiring gauges or adding components. Even 12V can spark. Veethree’s manuals begin with “Always disconnect battery”.
- Avoid Overloading: Never exceed a gauge’s rated voltage. It can cause fire or permanent damage.
- Mount Resistors Safely: If using a voltage reducer, note that the resistor must be kept clear of wiring and sensors due to heat.
- Check Polarity: Gauges have a defined “I” (ignition +), “G” (ground), and “S” (sender) terminal. Reversing wires will prevent operation and could damage electronics.
- Consult Support if Unsure: Gauge wiring can be tricky. If you’re uncertain about a conversion, contact Veethree technical support. They can advise on correct resistor values and wiring diagrams, as given in their conversion sheet and dropping resistor instructions.
Troubleshooting Checklist
When a gauge misbehaves, use this checklist:
- System Voltage: Verify with a multimeter (should read ~12V or ~24V with ignition on).
- Gauge Label: Confirm the gauge is marked 12V or 24V (or look up the part number/spec sheet).
- Fuse: Inspect and replace the fuse on the gauge circuit.
- Wiring: Check that “I” is fed from the ignition-switched source, “G” is grounded, and “S” goes to the correct sender output.
- Resistor: If using a 12V gauge in a 24V bus, ensure the dropping resistor is installed on the “I” terminal correctly.
- Bulbs/Sockets: Ensure any panel lamp is 12V or 24V as appropriate. Swap to 24V bulbs if needed.
- Sender Resistance: Measure the sender with an ohmmeter and compare to the gauge’s expected resistance curve (found in the product specs).
- Bench Test Gauge: If possible, apply the correct nominal voltage directly to the gauge on a test bench to verify its movement.
- Swap Components: If you have a known-good gauge or sender (for the same voltage), swap it in to isolate the faulty part.
Working through these steps will quickly reveal if the issue is a mismatched voltage, a wiring fault, or a bad part. Choosing between 12V and 24V electrical gauges is not just about preference-it’s about system compatibility and safety. A small mismatch in voltage can lead to incorrect readings, damaged gauges, or costly repairs.
Frequently Asked Questions
- Needle stuck at maximum
- No movement at all
- Flickering readings
- Burnt-out bulbs
- Blown fuses