- Free shipping for NZ Customers. All items are available in NZ warehouse
- +64 (0) 212576146
- [email protected]
Arctic Gauges Installation Best Practices: Visibility, Lighting & IP Ratings

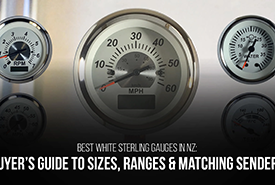
White Sterling Gauges Buyer’s Guide: Sizes, Ranges & Sender Pairings
September 25, 2025
Best White Sterling Gauges in NZ: Buyer’s Guide to Sizes, Ranges & Matching Senders
October 17, 2025
Why visibility and sealing matter (and not just for show)
When you fit Arctic Gauges properly—right mounting height, smart glare reduction, correct gauge lighting, and attention to IP67 sealing—you get instruments that read cleanly at a glance and shrug off spray, wash-downs, and overnight dew. The result is fewer mystery readings, fewer callbacks, and a safer day on the water. Veethree’s domed glass and illumination design give you a head start; the installation details you add are what make that advantage stick.
Along the way, we’ll reference Veethree NZ resources and recognised small-craft guidance so your outcomes aren’t just neat—they’re correct.
First principles: what good looks like at the helm
- Dashboard visibility: Place instruments where the skipper reads them without head gymnastics. ABYC’s field-of-vision guidance exists for a reason: set up the helm so critical info is readable in a natural seated eye range, not hidden under a brow or steering rim.
- Glare reduction: Favour matte panels, shallow bezels, and sightlines that avoid direct sun bounce. If the panel is glossy, a matte anti-glare overlay or hood can help.
- Ingress protection: Understand IP ratings so your cut-outs, gaskets, and wiring keep the stated protection. IP67 means dust-tight and tolerant of temporary immersion (1 m, 30 min) when installed as specified.
Know your hardware: what Arctic Gauges bring to the party
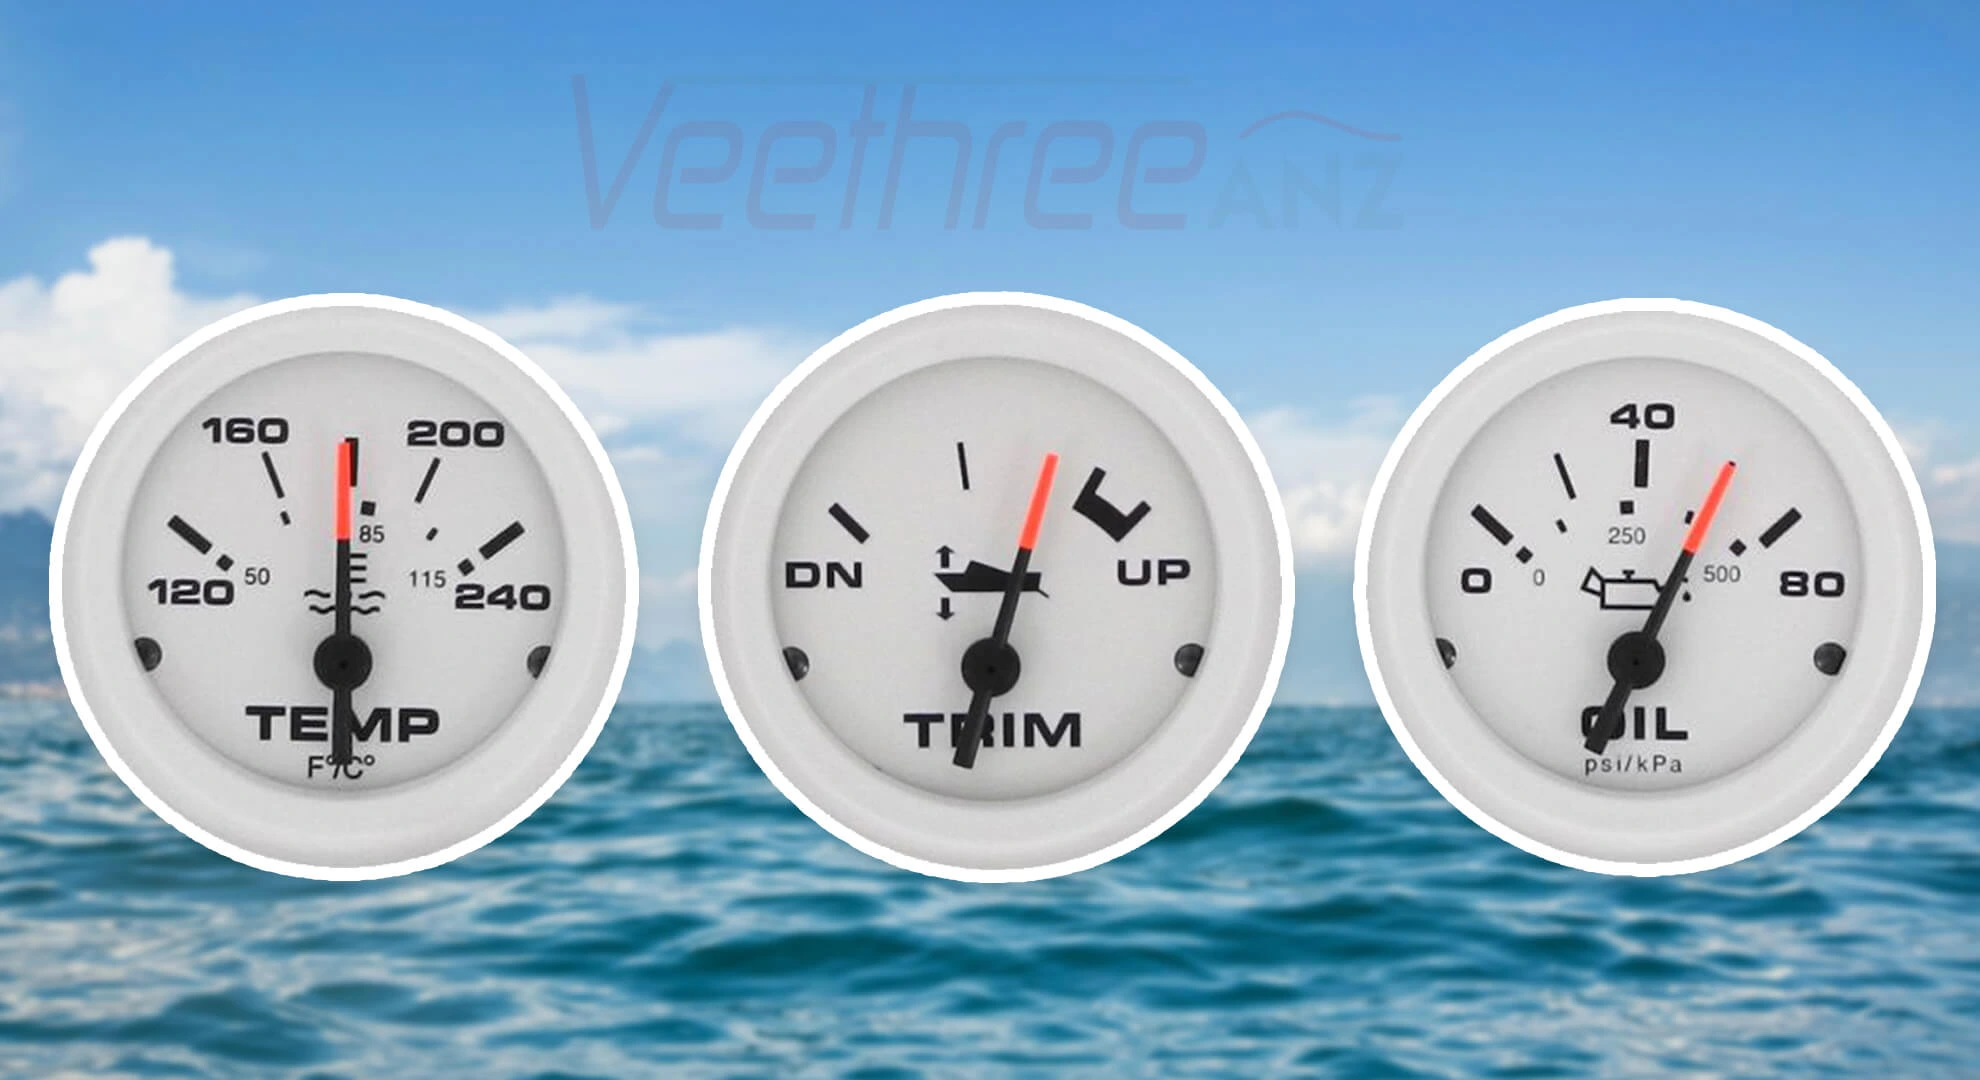
Veethree’s Arctic Gauges pair a white dial with black graphics for high contrast, a domed glass lens that sheds water, and enhanced night readability thanks to through-dial and perimeter lighting. Those traits directly support a clear, low-glare helm by day and by night.
On the broader Veethree platform you’ll also see emphasis on IP67 sealing and fog-resistant lenses (SAE J1810-type measures), which pay off when you’re battling salt, spray, and temperature swings. Veethree NZ highlights those sealing and anti-fog characteristics for electrical instruments—useful context when you’re standardising across the boat or the fleet.
Mounting height & angle: get the sightline right
Goal: The skipper should confirm RPM, pressure, voltage, and fuel level with minimal eye movement.
- Mounting height: Cluster primary marine gauges (tachometer, oil pressure, water temp, voltmeter) near the natural seated eye line. ABYC visibility notes distinguish “seated high” and “seated low” positions; treat this as your design envelope and keep top-tier instruments inside it.
- Angle to eye: Slightly tilt round dials toward the operator’s eye to reduce specular reflections on the lens. Keep dials as close to perpendicular to the line of sight as the panel allows—small changes can deliver big reductions in glare.
- Grouping & spacing: Group by priority and function, leaving finger room to operate nearby switches without shadowing the dial.
- Cut-outs & torque: Follow Veethree cut-out diameters and tightening torque for the clamp ring; over-tightening can distort the bezel or compromise the seal. (Typical values shown in Veethree instruction sheets—for example, ~0.70 Nm/100 in-oz for electrical connections and specified limits for bracket torque.)
Lighting that helps, not hurts
Arctic Gauges offer through-dial illumination and perimeter lighting for crisp night readability. Wire gauge lamps on a dedicated dimmable circuit where possible—bright enough to read, dim enough to preserve night vision. The domed glass helps shed droplets that otherwise catch light and flare.
Good practice- Keep lamp returns on a clean ground bus to avoid flicker and uneven brightness.
- Use marine-grade tinned cable, heat-shrink crimps, and add drip loops so water can’t track to the lamp socket. Veethree’s wiring guidance lays out the I (ignition), G (ground), and S (sender) paths and basic test steps that save hours of fault-finding.
IP ratings & sealing: hold the line on IP67
IP67 is not a vibes-only label; it’s a specific test outcome under IEC 60529 that depends on proper installation. In plain terms: dust-tight and suitable for temporary immersion to 1 m for 30 minutes, given that gaskets, clamp torque, and cable ingress are all handled correctly.
How you preserve IP in the real world- Seal the panel: After cutting, deburr the edge and fit the supplied gasket flat and clean. If your panel is uneven or cored, add a backing ring to keep compression even.
- Seal pass-throughs: Any hole that carries a wire is a leak path. Use gland fittings where applicable, and marine-grade polyurethane sealants on exterior penetrations (a practice widely recommended for marine luminaires and relevant to instrument pass-throughs too).
- Mind connector choices: Where series offer Deutsch connectors, use them; otherwise, finish open terminals with adhesive heat-shrink and face them downward.
- Respect tightening specs: Over-torque can crush seals; under-torque can leave gaps—follow the bracket and terminal specs from the instruction sheet.
Fight the fog: anti-fog lenses, airflow & real-world habits
Even with fog-resistant lenses, rapid temp swings and humid air can create internal haze. Veethree’s troubleshooting notes emphasise the difference between light “fogging” (thin film) and condensation (droplets). Your best prevention is airflow and dryness behind the dash.
Practical moves- Vent the dash cavity: Add discreet louvers so warm, moist air doesn’t stagnate behind instruments—more airflow equals less trapped moisture migrating into cases as temperatures cycle.
- Use the lamps: If a lens does haze, a few minutes of gauge backlighting helps warm the air volume and clear moisture faster.
- Dry, then seal: For a persistently wet instrument removed for service, dry gently with desiccant before refit, then re-check all back-of-panel sealing paths. (Community practice aligns on drying and improving venting rather than smothering everything in sealant.)
Glare reduction: design the dash, not just the dials
Arctic Gauges already stack the deck—high-contrast dial, domed glass, and perimeter/through-dial lighting. Finish the job by controlling reflective surfaces around them.
- Panel surface: Prefer matte or structured finishes over glossy acrylics that mirror the sky. Several marine panel vendors offer anti-glare laminates purpose-built for helms.
- Screen protectors & hoods (for nearby MFDs): A matte anti-glare film can tame reflections—useful if a bright MFD sits adjacent to your gauge cluster. Hoods also cut down on off-axis hot spots.
- Sightline tweaks: If sun finds a flare at a particular heading, a slight angle tweak to the panel or gauge cup can move the reflection cone out of the driver’s view. (That’s the same physics car folks fight on glossy hoods—angle and matte win.)
Wiring that lasts: tidy, fused, and serviceable
Neat wiring protects readability and the ingress protection you worked hard to achieve.
- Fuse the feed, keep runs short, avoid shared high-current returns, and tie back looms to avoid steering pinch points (especially on outboards).
- Use tinned marine wire, adhesive heat-shrink crimps, and label both ends. Veethree’s step-by-step shows the basic I / G / S layout and quick diagnostics for fuel sender systems.
Step-by-step snapshot (condensed)
- Select the location: verify eye line and rear clearance.
- Mark and drill the cut-out; deburr.
- Fit gasket & install the gauge; tighten bracket to spec.
- Wire I / G / S and the lamp; keep grounds tidy.
- Test & dim lighting to a comfortable night level.
- Seal pass-throughs and add drip loops.
- Vent the dash cavity.
(These steps align with Veethree’s instruction sheet sequences and torque notes.)
When you’re standardising across a fleet
If you’re outfitting multiple boats, pick a single dial family—Arctic Gauges for open cockpits are a strong choice thanks to that white face visibility and domed glass. Pair them with clean panel venting, matte finishes, and IP67-aware wiring methods, and your installations will look uniform and behave consistently from day one. Veethree NZ also publishes practical wiring and selection guidance you can reuse in your internal SOPs.
Troubleshooting, fast
- Dim at night / harsh glare → check dimmer feed, consider matte overlay or slight gauge tilt.
- Intermittent readings → re-terminate grounds on a proper bus; confirm sender curve matches gauge (240–33 Ω is common in marine fuel systems).
- Fogging after a cold front → switch gauge lamps on briefly; improve dash ventilation; inspect gasket seating.
Wrap-up
Well-placed Arctic Gauges, set at the right mounting height, with sensible gauge lighting, glare reduction, and careful IP67 sealing, make the helm feel effortless. Follow the cut-out and torque notes, vent the dash, and treat panel penetrations like the priority they are. Do that, and your instruments will stay legible, stay dry, and stay honest—trip after trip.
FAQs